Getting Started
Welcome to Dreamie — your bedside sleep assistant. This page is a quick tour of the basics: powering up, navigating the display, and the everyday controls you'll use most. Once you know your way around, the other pages in this manual go deeper on each feature.
The whole tour takes a couple of minutes in the video below.
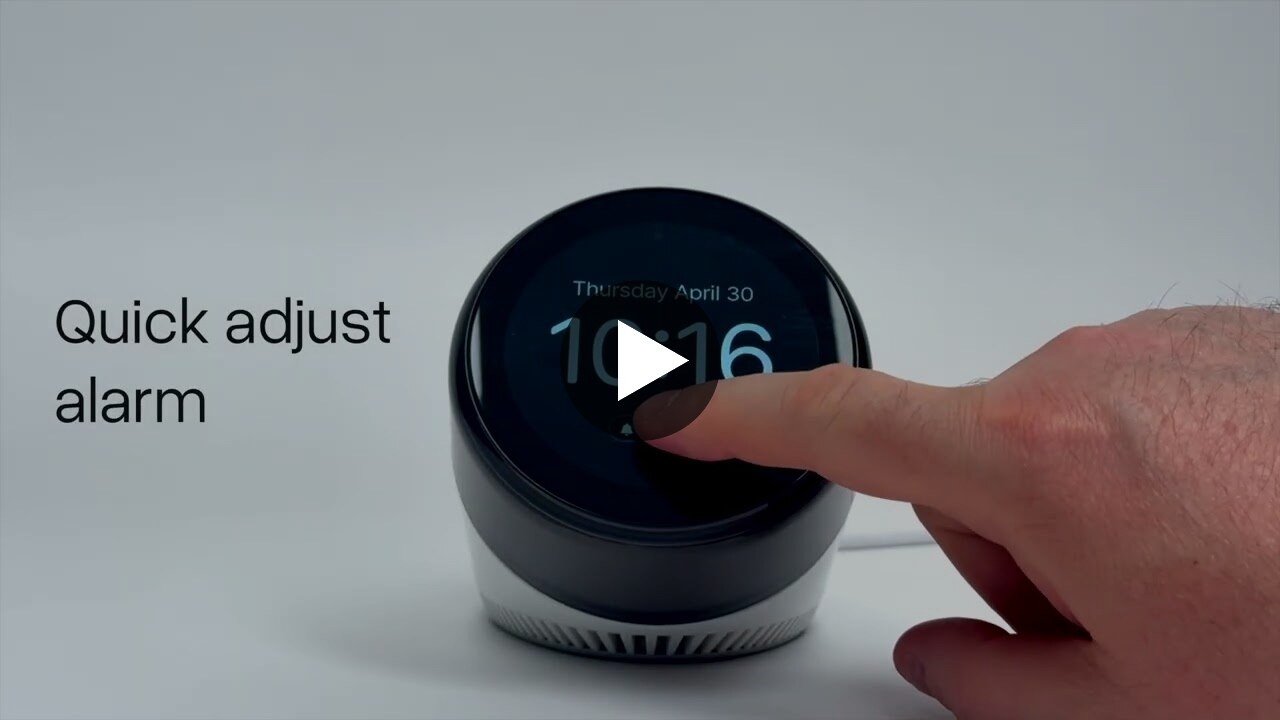
▶ Watch: Getting Started with Dreamie
Contents
- Setup and power
- The display
- The touch strip
- Volume
- The sleep routine and scenes
- Alarms
- Quick reference
1. Setup and power
Dreamie runs on the included 20W USB‑C power supply. It's designed to stay plugged in on your nightstand.
The USB‑C cable has two ends, and the angled end can be reversed so the cable runs tidily off either the left or right side of your nightstand — whichever side you sleep on.
⚠️ Wi‑Fi is needed for the initial setup, and Dreamie requires a 2.4 GHz network. After setup, Dreamie's basic functions can run without Wi‑Fi — you'll just miss automatic software updates and the automatic time re‑sync after a power outage. Podcasts are unavailable without Wi‑Fi, since they stream over the internet.
The first time you power on, Dreamie walks you through a short setup wizard (language, Wi‑Fi, time zone, and your first routine). See Onboarding for a screen‑by‑screen walkthrough.
2. The display
The entire front of Dreamie is a touch screen. Taps and swipes work best at a gentle, deliberate pace.
Two gestures do most of the work from the home screen:
- Swipe up from the bottom to open the menu, where you reach alarms, scenes, the content library, and settings.
- Swipe down from the top to move to the next step in your sleep routine — for example, to stop the bedtime cue and move on.
3. The touch strip
The touch strip runs along the top edge of Dreamie and controls lighting.
- Swipe up or down on the strip to adjust the lamp brightness.
- If the scene you're on includes its own lighting (for example, a fireplace or sunrise), tap the touch strip to toggle between controlling the lamp and controlling the scene's brightness. It's a quick way to switch between the two without opening the menu.
4. Volume
Turn the volume knob to adjust the audio level.
Volume is remembered per scene, so once you dial in a comfortable level for ambience, noise mask, wind down, and each alarm, you won't have to re‑adjust every time you switch.
5. The sleep routine and scenes
Your nightly wind‑down on Dreamie is organized into scenes (ambience, noise mask, wind down, and so on). Each scene remembers its own volume and brightness settings, and plays its own content.
To start the sleep routine, swipe down from the top of the display. From there, swiping down again advances through the steps.
Some scenes include lighting effects that sync with the content (such as a fireplace glow); those effects are controlled by the touch strip as described above.
For the full walkthrough — configuring each step, choosing content, and starting or stopping the routine — see Sleep Routine. To set a podcast as a scene's content, see Podcasts.
6. Alarms
Dreamie supports multiple alarms, each with customizable sound, an optional sunrise light that brightens gradually before the alarm, and optional snooze. Everything is configured directly on the device — no app and no phone required.
See Alarms & Wake‑Up for setting schedules, one‑time overrides, alarm sound, sunrise, and snooze.
7. Quick reference
| Task | Where |
|---|---|
| Power Dreamie | Included 20W USB‑C supply; angled cable end reverses for either side |
| First‑time setup | Follow the on‑device wizard (Onboarding); needs 2.4 GHz Wi‑Fi |
| Open the menu | Swipe up from the bottom of the display |
| Advance the sleep routine | Swipe down from the top of the display |
| Start the sleep routine | Swipe down from the top (Sleep Routine) |
| Adjust lamp brightness | Swipe up/down on the touch strip |
| Switch lamp ↔ scene lighting | Tap the touch strip |
| Adjust volume | Turn the volume knob (remembered per scene) |
| Set alarms | Menu → alarms (Alarms & Wake‑Up) |